
Kickstarting Your Journey to Transplant Bleeding Hearts 🌱
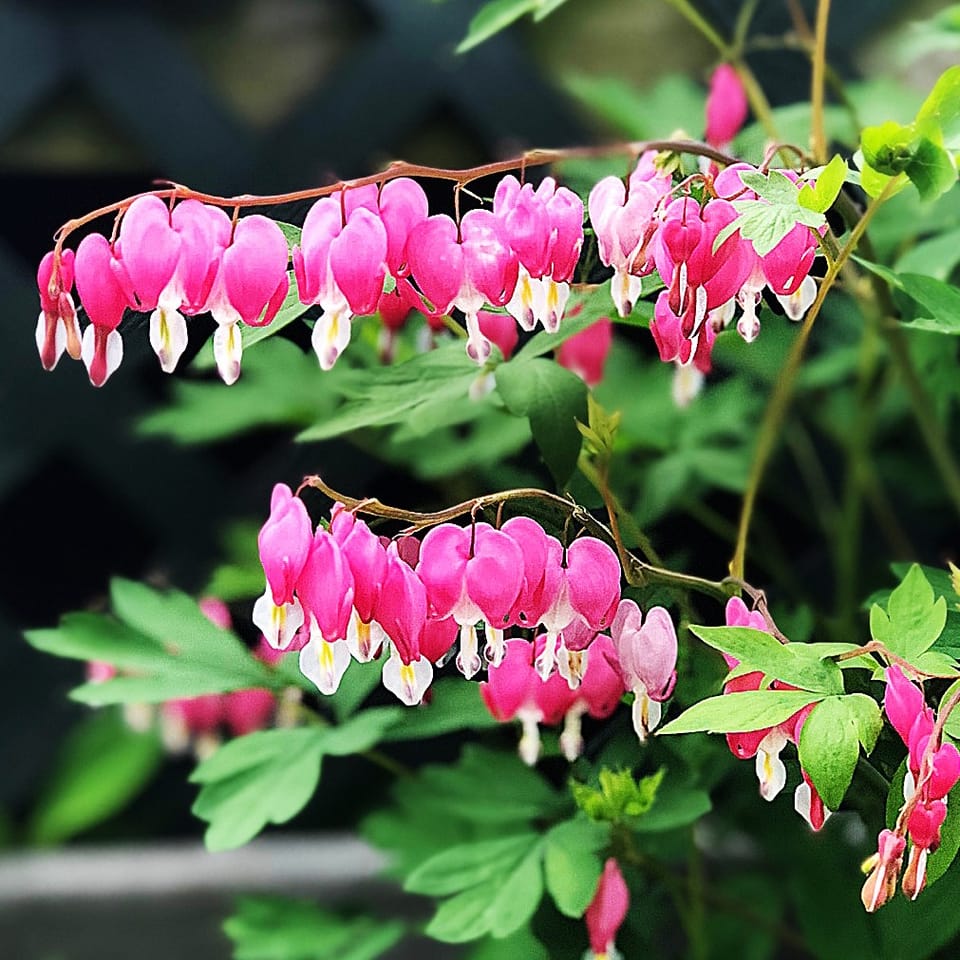
Imagine the romantic allure of a plant that wears its heart on its leaves, a perennial flirtation with nature that unfolds in the delicate blooms of the Bleeding Heart. This is not a plant for the faint of heart, but rather for the passionate gardener who knows that beauty often lies in the challenge. But what happens when your enchanting Bleeding Heart needs a change of scenery? When can you transplant bleeding heart plants, and how do you divide and transplant bleeding hearts without breaking their fragile, floral hearts?
Whether you're relocating perennials to cater to their growing needs or simply to rearrange your garden aesthetics, transplanting a bleeding heart plant is an art that requires the right touch, the right tools, and above all, the right timing. So, when is the best time to transplant a bleeding heart? Strap on your gardening gloves, and let's dig into the secrets of successfully transplanting these captivating, heart-shaped wonders.

Decoding the Ideal Season for Bleeding Hearts' Big Move 📅
Ever wonder why your bleeding heart plant seems to wilt and wither when you relocate it? It's all about timing, my friends. Timing is the heartbeat of successful perennial garden care, especially when it comes to bleeding heart flower transplanting.
Imagine you're a bleeding heart plant, nestled comfortably in your familiar patch of soil. Suddenly, you're uprooted and plonked into a new environment. Shocking, isn't it? This is exactly why the best time to transplant bleeding hearts is during the cool, moist seasons of spring or early fall.
Why then, you ask? Well, during these periods, the plant is in its dormant phase, making it less susceptible to transplant shock. And guess what? The cooler temperatures and increased rainfall also help to ease the plant's transition, promoting root growth and reducing water stress.
So, when it comes to growing bleeding hearts, remember - it's not just about how you divide and transplant them, but also when you do it.
Success Rates of Transplanting Bleeding Hearts in Different Seasons
Your Essential Toolkit for a Successful Perennial Relocation 🔧
Now, let's dive into the toolbox of a successful gardener. What are the magic wands that will make your bleeding heart plant transplant a success story? Well, it's not magic, it's a blend of practicality and tender loving care.
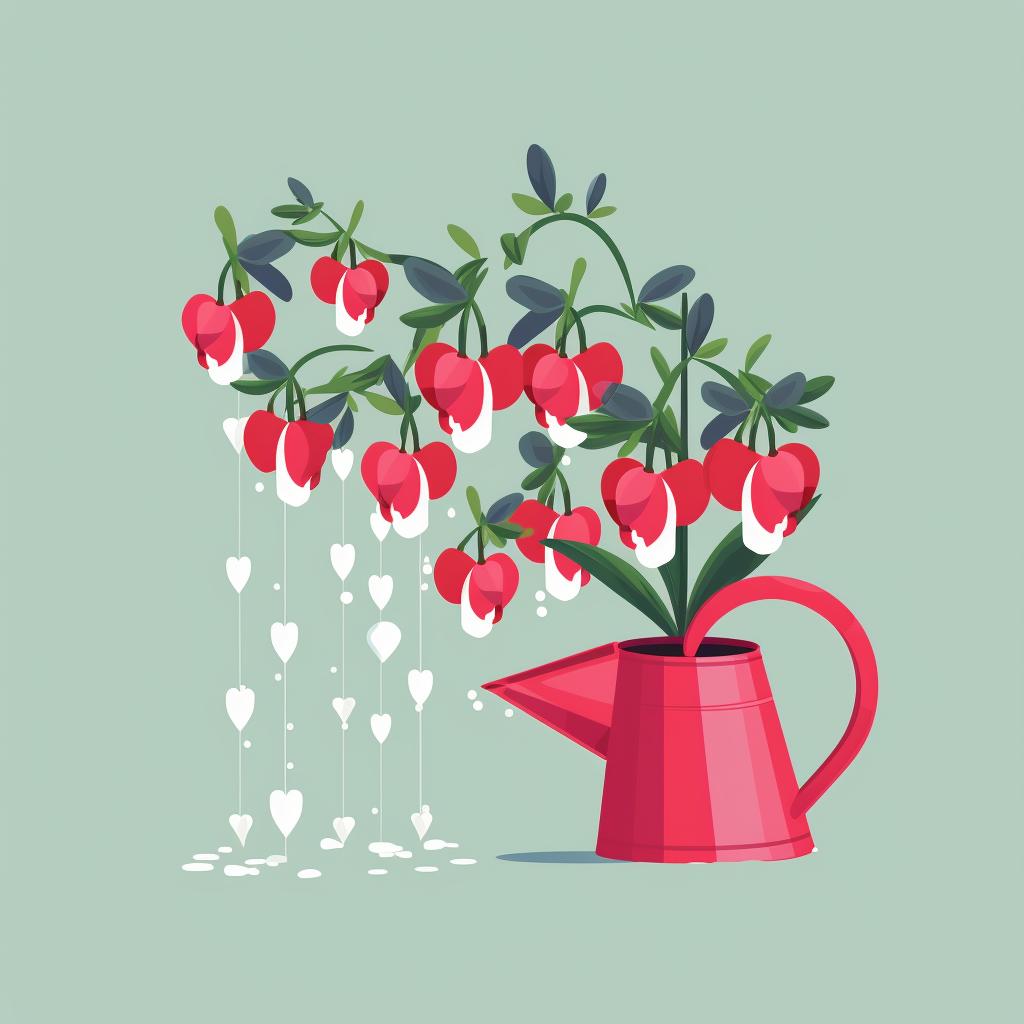
Firstly, a pair of sturdy gardening gloves - your faithful knights to protect your hands from thorns and dirt. Then, a trusty spade - your sword in the soil, perfect for digging up and dividing your bleeding hearts. Don't forget the watering can - your personal rain cloud, ensuring your plant stays hydrated during the move.
Remember, each tool plays a unique role in the transplant process. The gloves protect, the spade uproots and replants, and the watering can nurtures. Like a well-orchestrated symphony, they all work together to create the perfect environment for your bleeding heart plant to thrive in its new home.
So, are you ready to roll up your sleeves and start the transplanting adventure?
Necessary Tools for Transplanting Bleeding Hearts
- Gardening Gloves: Essential for protecting your hands from dirt and potential irritants in the soil. They also offer a better grip while handling the plant and tools.
- Spade: Used for digging the hole in the new location where the bleeding heart plant will be transplanted. It can also help in gently removing the plant from its current location.
- Watering Can: Necessary for watering the plant before and after transplanting. A gentle shower head is preferable to avoid damaging the plant.
- Garden Trowel: This tool is perfect for making precise adjustments to the planting hole or removing excess soil around the root ball.
- Pruning Shears: Used to trim any damaged or excessively long roots before transplanting. They can also be used to prune the plant after transplanting, if necessary.
- Organic Compost: Enriches the soil in the new location, providing the necessary nutrients for the plant to thrive.
- Bucket: Useful for carrying and mixing compost or soil. It can also be used to soak the root ball of the plant before transplanting.
- Garden Hose: If available, a garden hose can be used for watering, especially when dealing with larger plants or multiple transplants.
Mastering the Art of Bleeding Hearts Transplant: A Step-by-Step Guide 🚀
Now that we've discussed the ideal time for transplantation and the necessary tools, let's dive into the step-by-step process of transplanting your bleeding heart plant.
Mastering the Art of Transplanting Bleeding Hearts


Learn more about Mastering the Art of Transplanting Bleeding Hearts 🌸 or discover other Plant Perennial guides.
By following these steps, you should be able to successfully transplant your bleeding heart plant. Now, let's discuss some common mistakes to avoid during this process.
Sidestepping Transplant Traps: Common Missteps and Their Fixes 🚫
What's the one thing that strikes terror in the heart of a perennial gardener? Is it the sight of a wilting Bleeding Heart? Or perhaps it's the daunting task of transplanting a beloved plant? Yes, we've all been there. Transplant terror is real, my friends, and it often stems from a series of common missteps.
Let's start with the most common blunder - transplanting at the wrong time. The best time to transplant bleeding hearts is just as spring whispers its first hello. Any sooner, and Jack Frost might nip at your plant; any later, and the summer sun could scorch its delicate roots. Remember, timing is everything when it comes to relocating perennials.
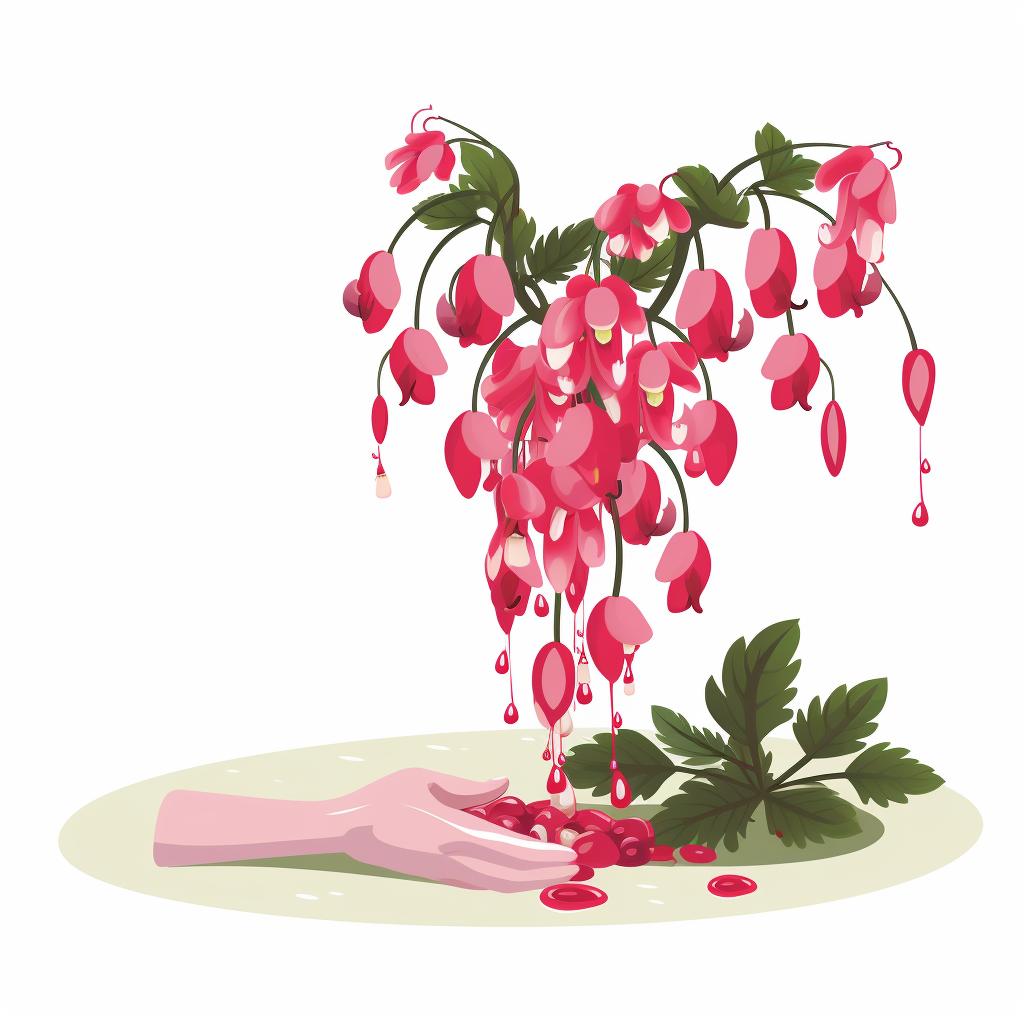
Another frequent faux pas is splitting the plant incorrectly. How do you divide and transplant bleeding hearts, you ask? With a gentle hand and a sharp spade. Slice through the root ball, ensuring each division has plenty of roots and a few strong shoots. Brutal butchery will only lead to a broken heart – a bleeding one, at that!
Finally, there's the post-transplant watering debacle. Waterlogged soil is a breeding ground for rot and disease. So, go easy on the H2O. Just as Goldilocks would have it, your bleeding heart plant care regime should be 'just right' - not too much, not too little.
So, fellow gardeners, are we ready to conquer the transplant terror? With these perennial transplant tips up our sleeve, we can turn our bleeding heart flower transplanting into a work of art. Remember, the master of transplanting isn't born overnight; it's a title earned through trial, error, and a lot of muddy boots.
Understanding the Art of Transplanting Bleeding Hearts
Test your knowledge about the common mistakes made during the transplantation process of Bleeding Hearts and how to avoid them.
Learn more about Understanding the Art of Transplanting Bleeding Hearts 🌸 or discover other Plant Perennial quizzes.
Your Burning Questions About Bleeding Hearts Transplant, Answered! 💡
Now that we've covered the basics of transplanting bleeding hearts, let's address some of the most common questions that gardeners have about this process.
We hope these answers have been helpful. If you have any other questions about transplanting bleeding hearts, don't hesitate to reach out to us or consult with a local gardening expert.


No comments yet. Be the first to share your thoughts!