
What are long-lived perennials?
Long-lived perennials are a group of perennial plants that are known for their exceptional longevity, often thriving in your garden for many years with proper care. These low maintenance perennial plants are perfect for gardeners who want to enjoy a beautiful, thriving garden without the need for constant replanting or excessive maintenance. Unlike annuals, which complete their life cycle within a single growing season, perennials come back year after year, providing a reliable foundation for your garden's design.
Some of the best long-lived perennials include hostas, peonies, and daylilies, which have been recognized by organizations such as the Perennial Plant Association and the American Hosta Society. For example, the 2018 Hosta of the Year and the 2022 Hosta of the Year are both known for their durability and long-lasting beauty. Other popular long-lived perennials are coneflowers, irises, and sedums, which offer a wide range of colors, textures, and forms to suit any garden style.
One of the main advantages of long-lived perennials is their ability to provide all year round perennial flowers and foliage, ensuring that your garden remains vibrant and visually appealing throughout the changing seasons. Many of these plants also attract pollinators such as bees and butterflies, contributing to a healthy ecosystem within your garden. Additionally, long-lived perennials are often more resistant to pests and diseases, making them an excellent choice for a low-maintenance garden.
When selecting long-lived perennials for your garden, it's essential to consider factors such as your climate, soil type, and available sunlight. By choosing plants that are well-suited to your specific growing conditions, you can ensure that your perennials will thrive and provide years of enjoyment. With a little research and planning, you can create a stunning perennial garden that will be the envy of your neighbors for years to come.
Benefits of planting long-lived perennials in your garden
Planting long-lived perennials in your garden offers numerous benefits that can enhance both the beauty and functionality of your outdoor space. These easy care perennials provide a solid foundation for your garden design, allowing you to focus on other aspects of your landscape without worrying about constant replanting or extensive maintenance. Here are some of the key benefits of incorporating long-lasting perennials into your garden:
Low maintenance: One of the most significant advantages of long-lived perennials is their low maintenance requirements. Once established, these plants typically require minimal care, such as occasional watering and pruning, making them an excellent choice for busy gardeners or those seeking a more hands-off approach to gardening. This can save you both time and effort in the long run, allowing you to enjoy your garden without the stress of constant upkeep.
Year-round interest: Many long-lived perennials offer all year round perennial flowers and foliage, ensuring that your garden remains visually appealing throughout the changing seasons. This can create a dynamic and engaging landscape that provides constant interest and enjoyment for both you and your visitors. Additionally, some long-lived perennials, such as hostas and sedums, offer attractive foliage that can provide color and texture even when the plants are not in bloom.
Economical: Investing in long-lived perennials can save you money over time, as these plants will continue to grow and thrive in your garden for many years. This means you won't need to purchase and replant annuals each season, reducing your overall gardening expenses. Furthermore, many long-lived perennials can be easily propagated through division or cuttings, allowing you to expand your garden or share plants with friends and family at little to no cost.
Ecological benefits: Long-lived perennials can contribute to a healthy garden ecosystem by attracting pollinators such as bees, butterflies, and hummingbirds. These beneficial insects and birds play a crucial role in plant reproduction and can help to increase the overall biodiversity of your garden. Additionally, many long-lived perennials are more resistant to pests and diseases, reducing the need for chemical treatments and promoting a healthier environment for both plants and wildlife.
Adaptability: Long-lived perennials are often highly adaptable to a wide range of growing conditions, making them suitable for various climates, soil types, and sunlight levels. By selecting plants that are well-suited to your specific garden conditions, you can ensure that your perennials will thrive and provide years of enjoyment.
In summary, incorporating long-lived perennials into your garden can offer numerous benefits, from low maintenance and year-round interest to ecological advantages and cost savings. By carefully selecting the best long-lived perennials for your specific growing conditions, you can create a stunning, resilient garden that will be a source of pride and enjoyment for years to come.
Top long-lived perennials for your garden
Now that we've explored the benefits of long-lived perennials, let's dive into some of the top perennial plants that you can incorporate into your garden. These easy care perennials have been selected for their beauty, adaptability, and low maintenance requirements, making them ideal choices for creating a stunning and long-lasting perennial garden.
1. HostasHostas are a popular choice for their lush foliage and shade tolerance. With numerous cultivars available, you can find hostas in various sizes, leaf shapes, and colors. Some notable varieties include the 2018 Hosta of the Year, 'World Cup,' and the 2022 Hosta of the Year, 'Lakeside Paisley Print.' These plants are perfect for adding texture and visual interest to your garden, even when they're not in bloom. 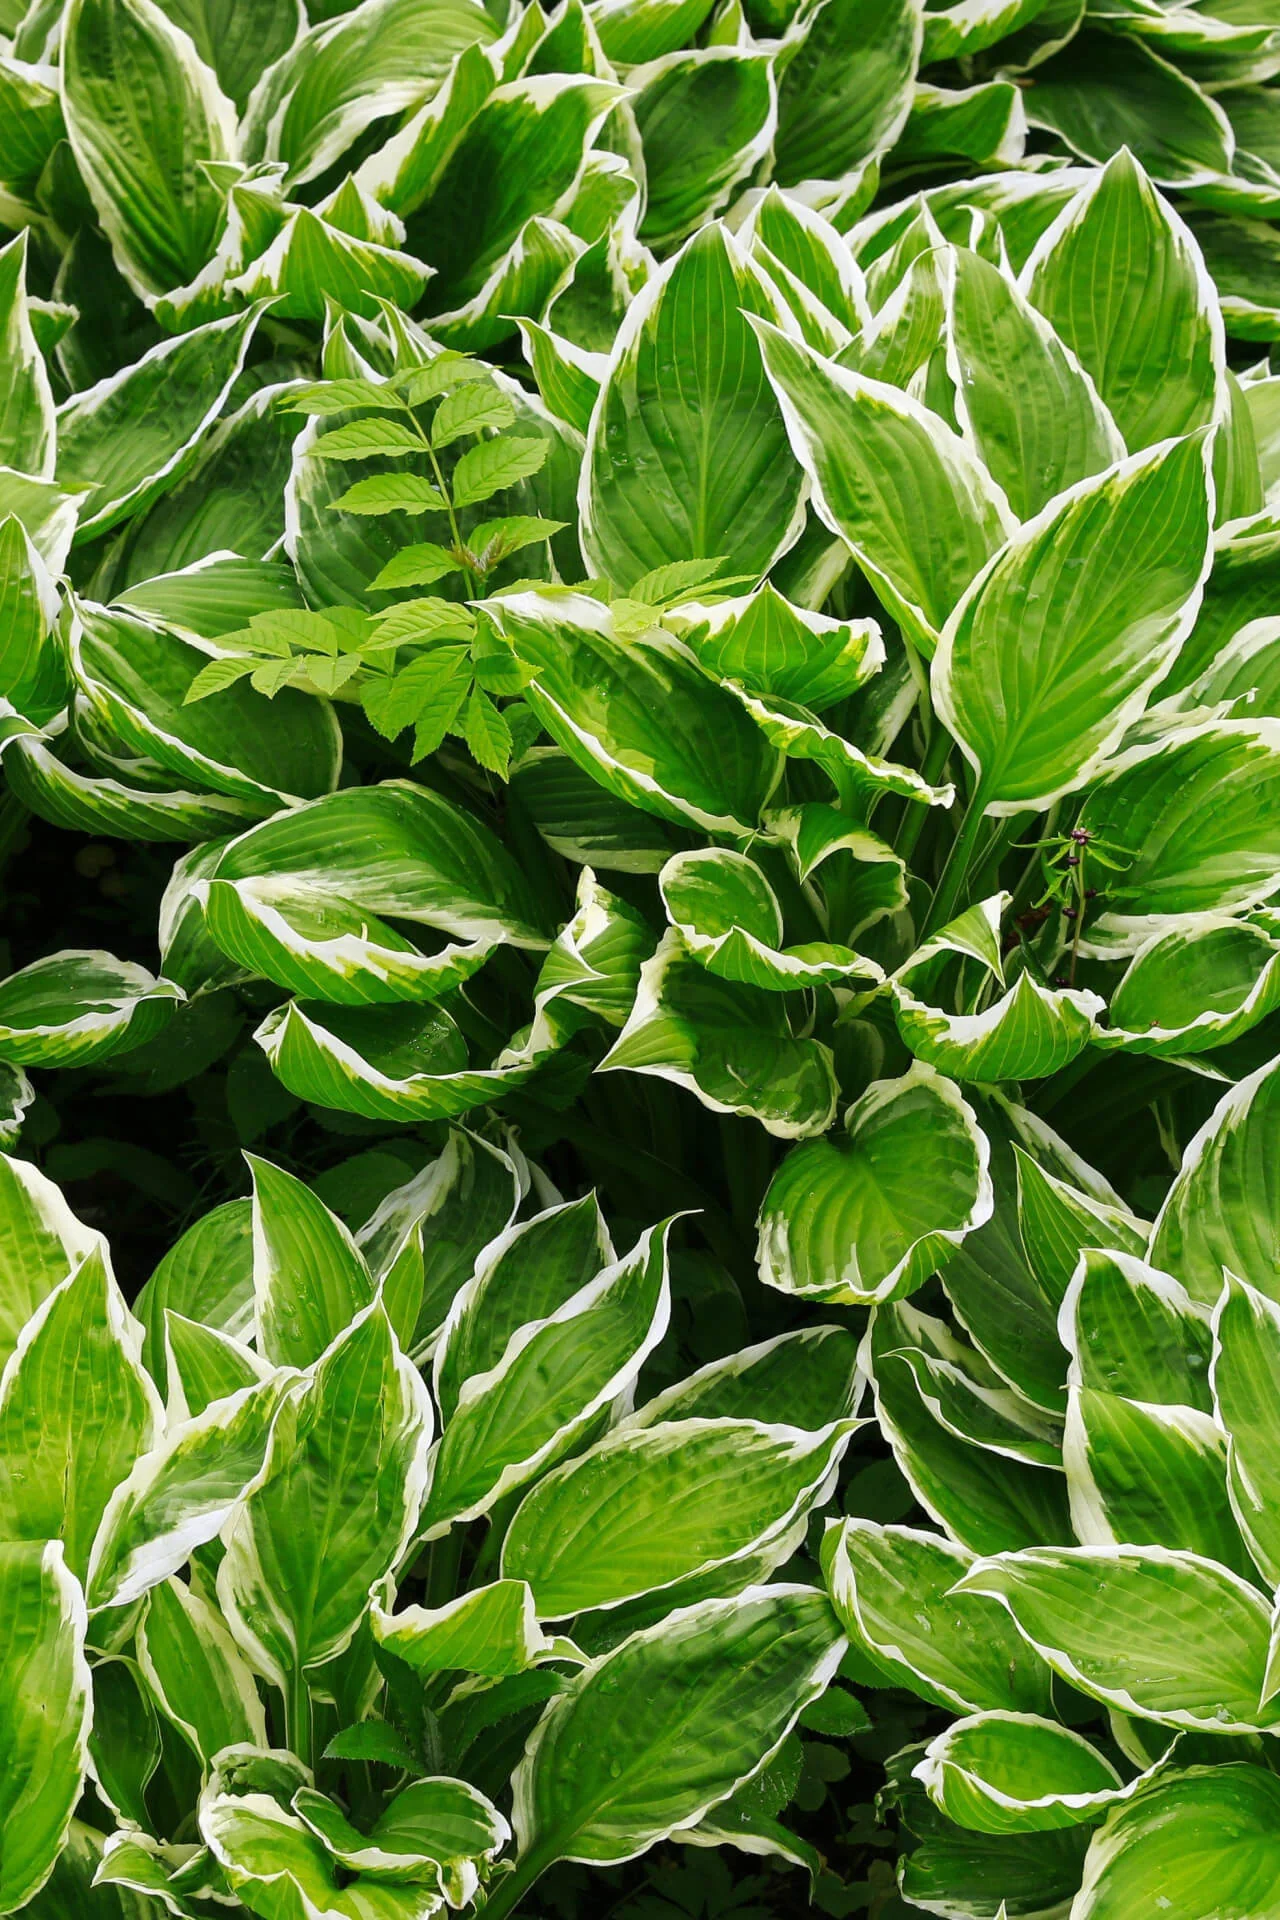
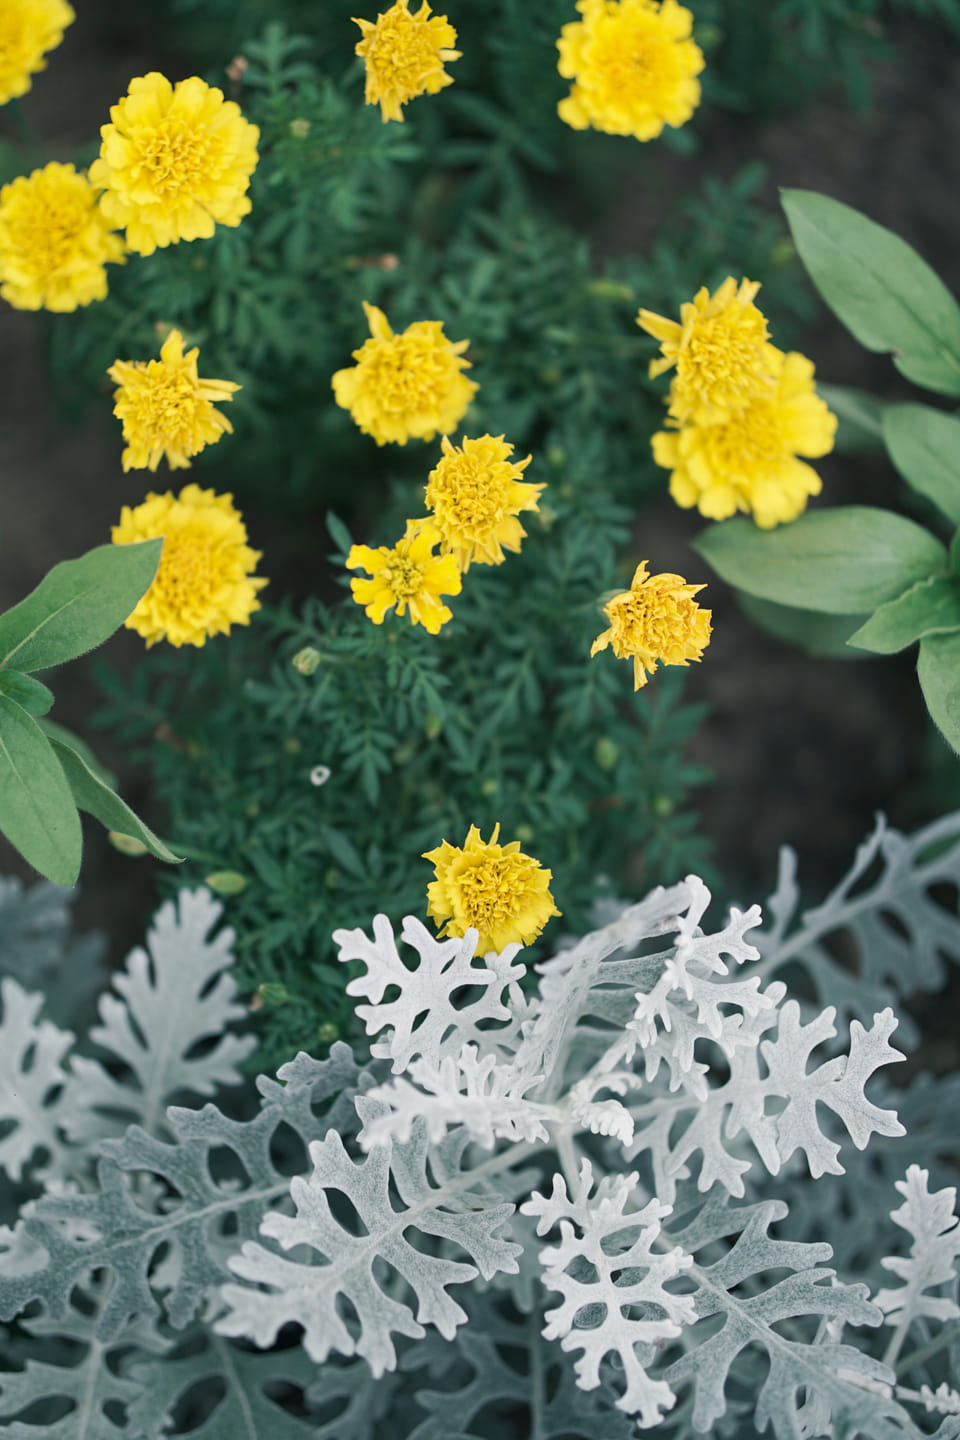
Sedums, also known as stonecrop, are low maintenance perennial plants known for their drought tolerance and ability to thrive in poor soil conditions. They come in various forms, from creeping groundcovers to upright varieties like the 2021 Perennial Plant of the Year, 'Sedum takesimense ATLANTIS.' Sedums provide year-round interest with their succulent foliage and late-season blooms, attracting pollinators to your garden. 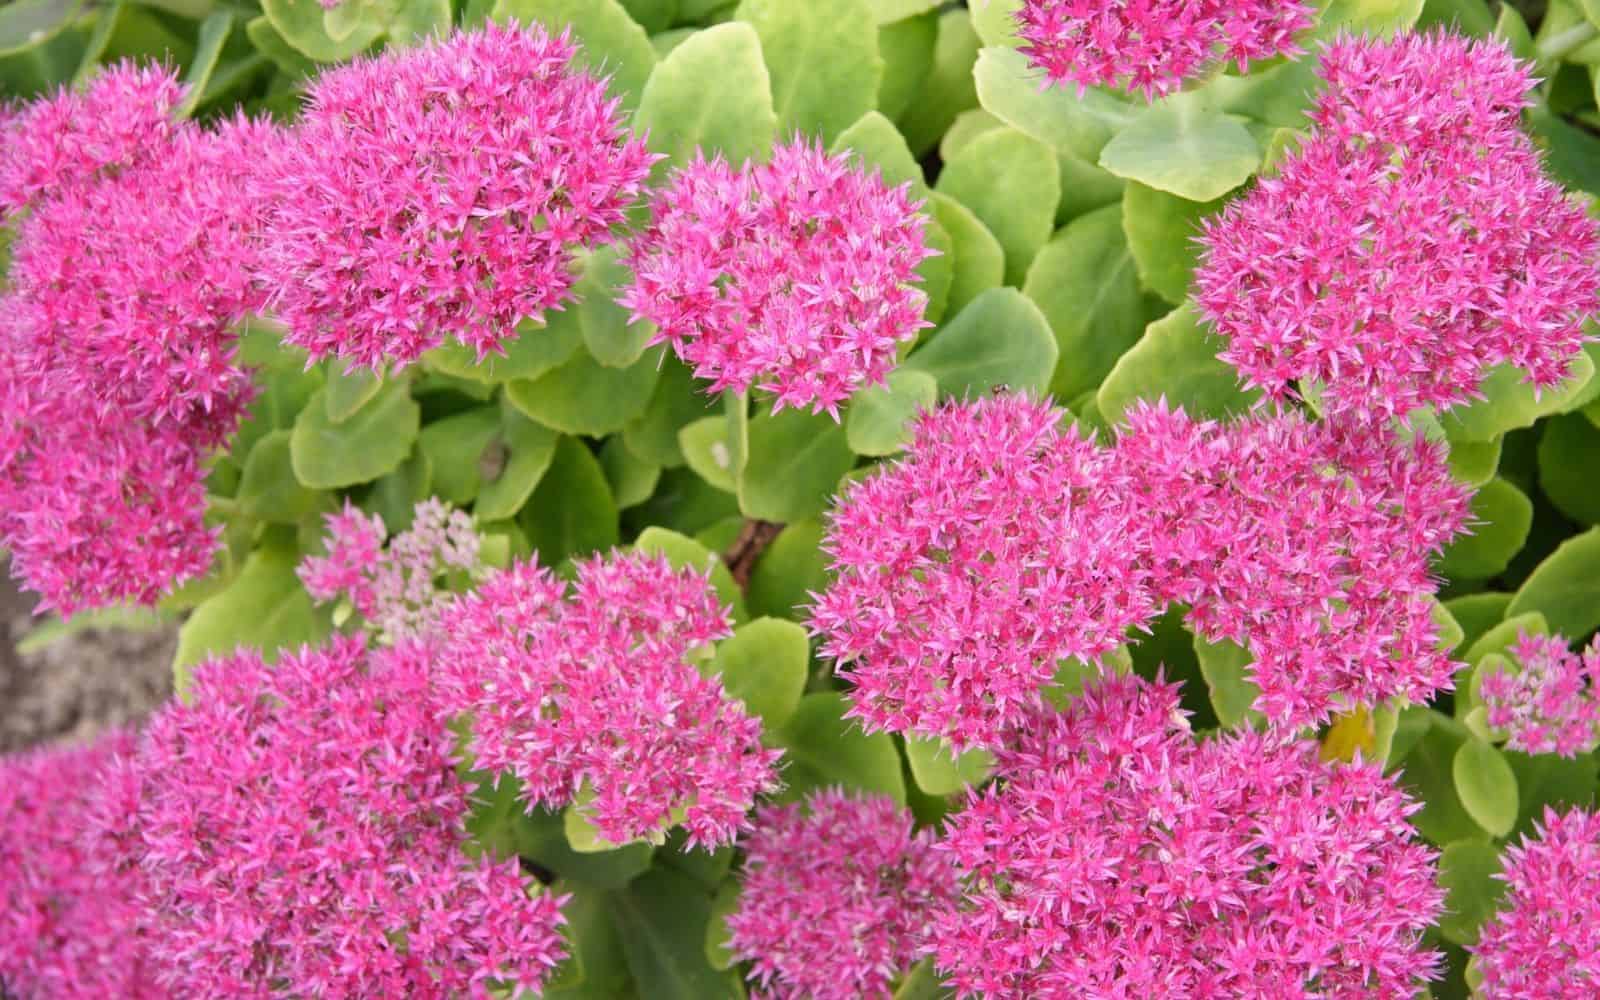
Echinacea, commonly known as coneflower, is a long-lived perennial that produces vibrant, daisy-like flowers throughout the summer. These plants are drought-tolerant and attract pollinators, making them an excellent addition to any garden. With various colors available, including the 2020 Perennial Plant of the Year, 'Echinacea purpurea PowWow Wild Berry,' you can create a stunning display of blooms. 
Peonies are beloved for their large, fragrant blooms and impressive longevity, with some plants living for over 50 years. These perennials require minimal care once established and provide a stunning focal point in the garden during their spring bloom. Peonies are available in various colors, including white, pink, red, and even yellow. 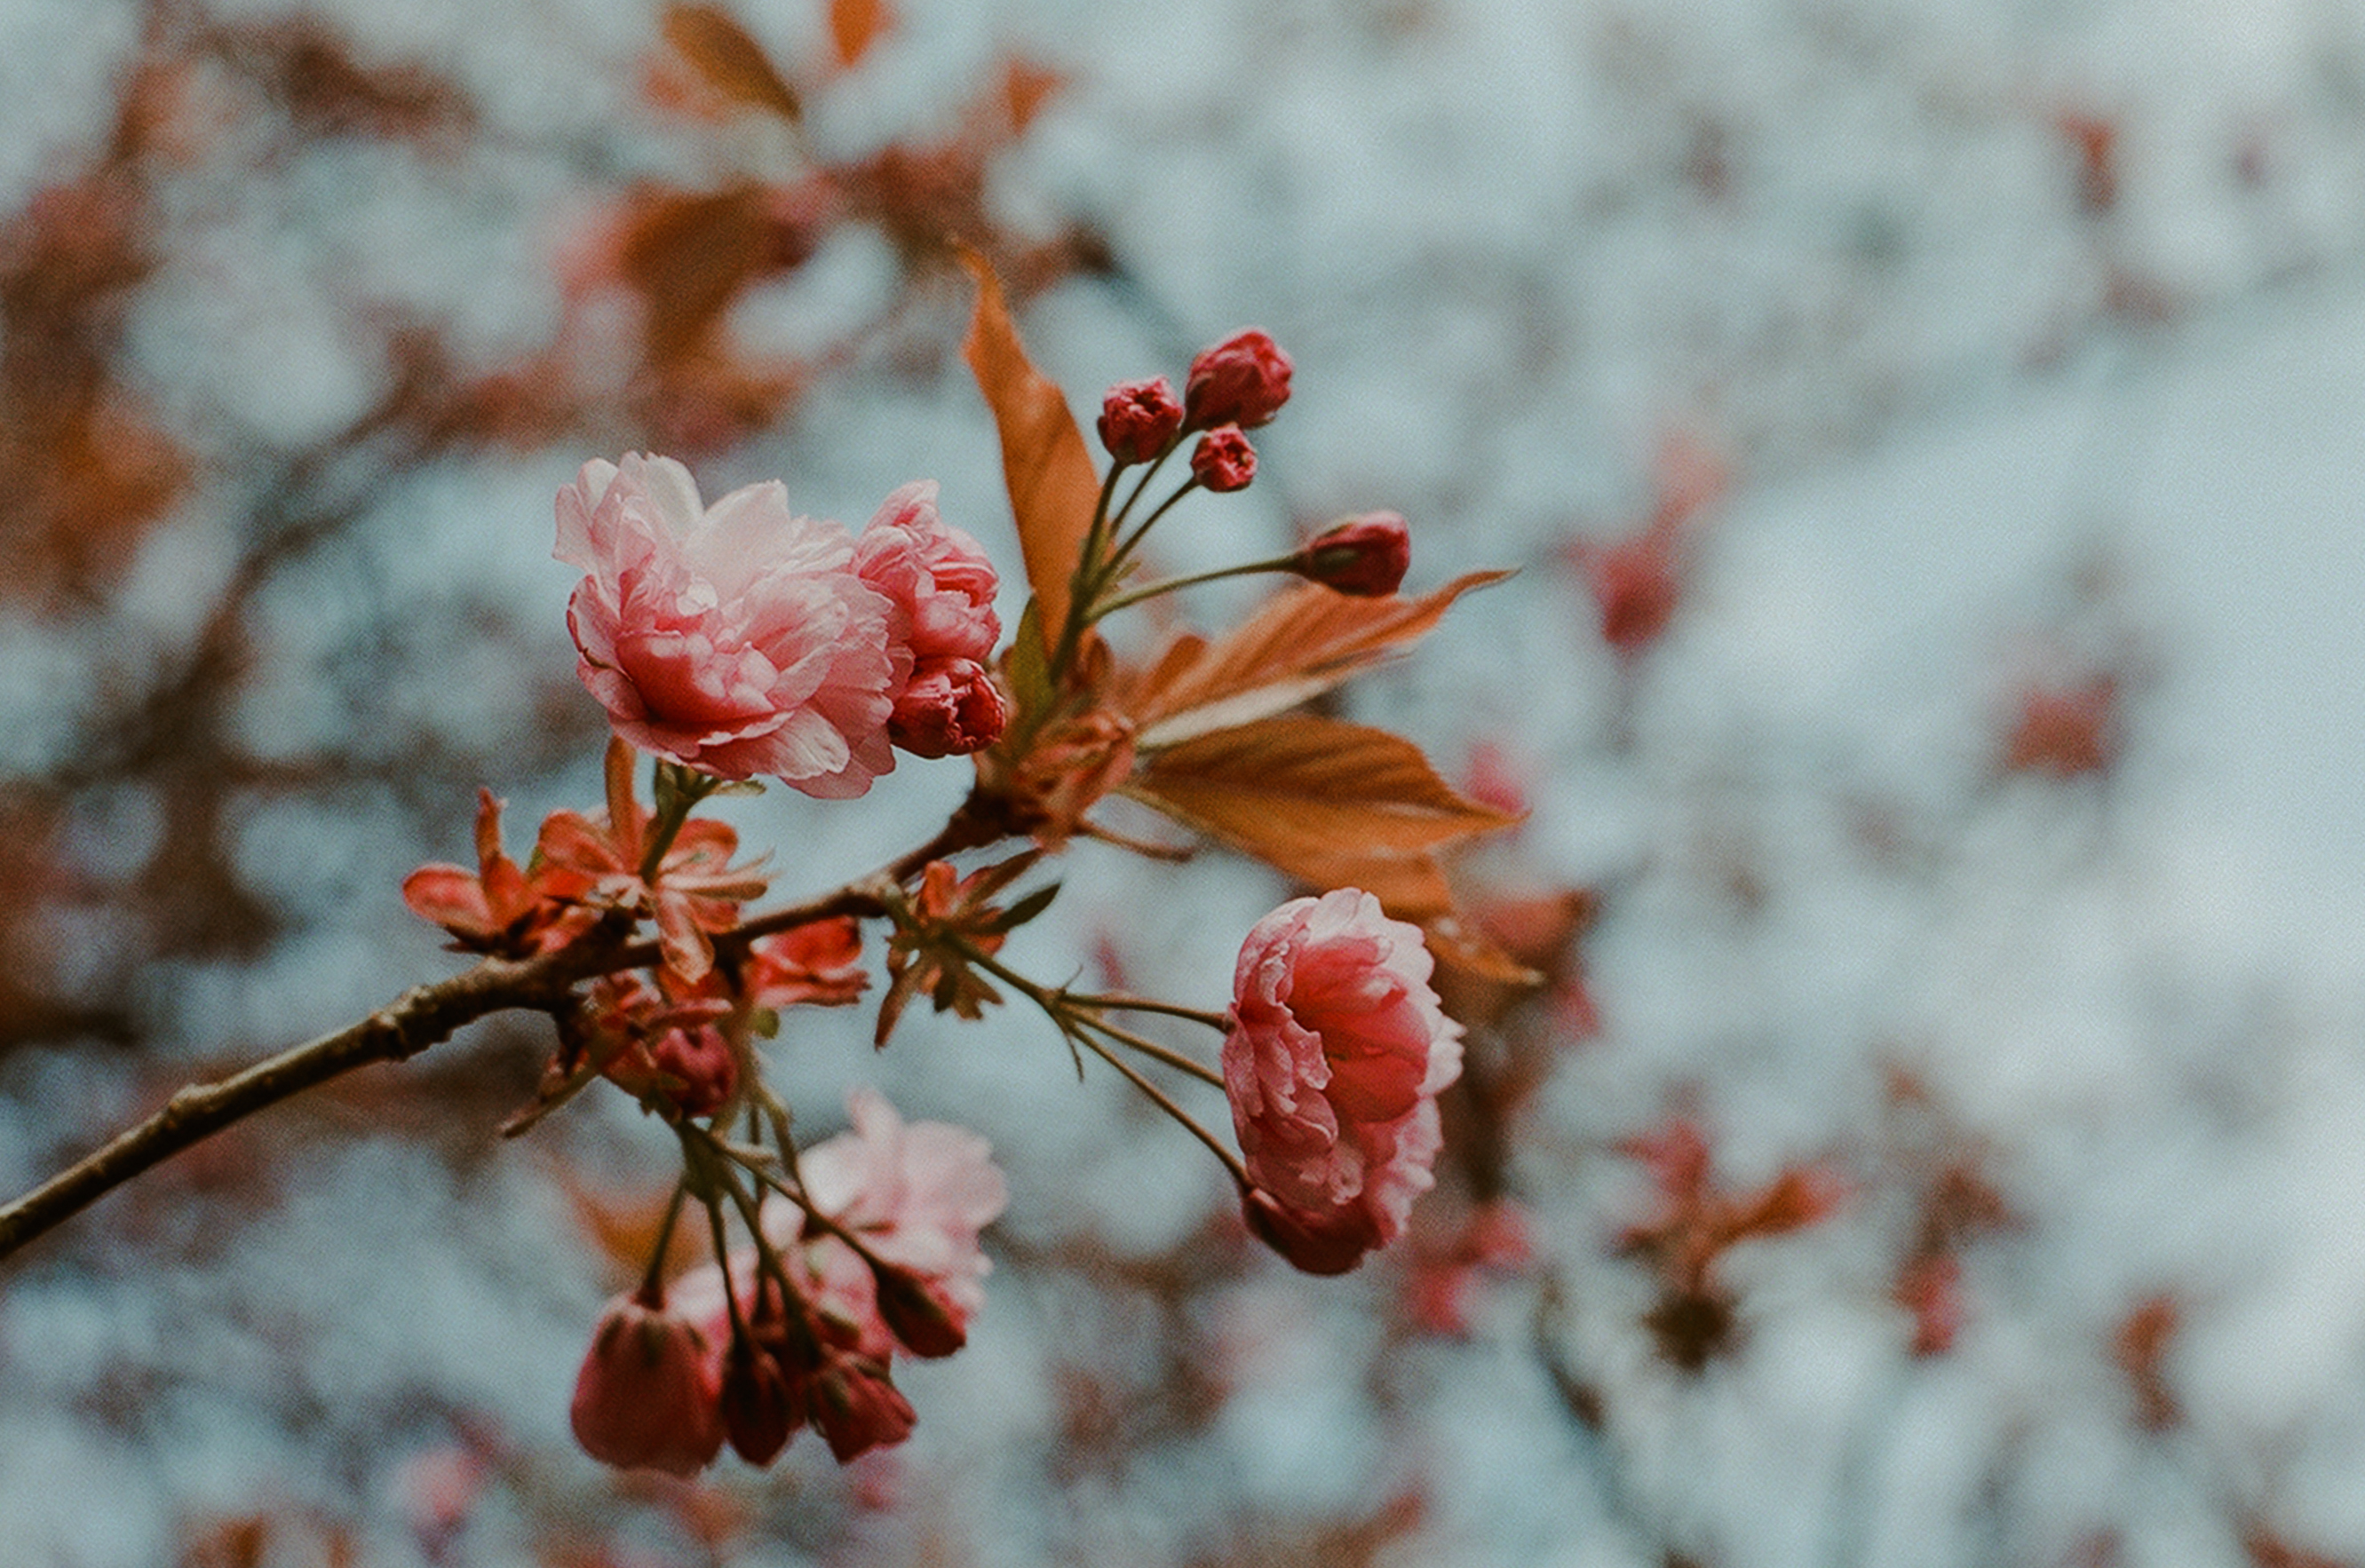
Daylilies are a versatile and low maintenance perennial plant, with varieties that can thrive in various conditions, from full sun to partial shade. They produce colorful, trumpet-shaped flowers throughout the summer, with each bloom lasting only one day. However, their profuse flowering ensures a continuous display of color. 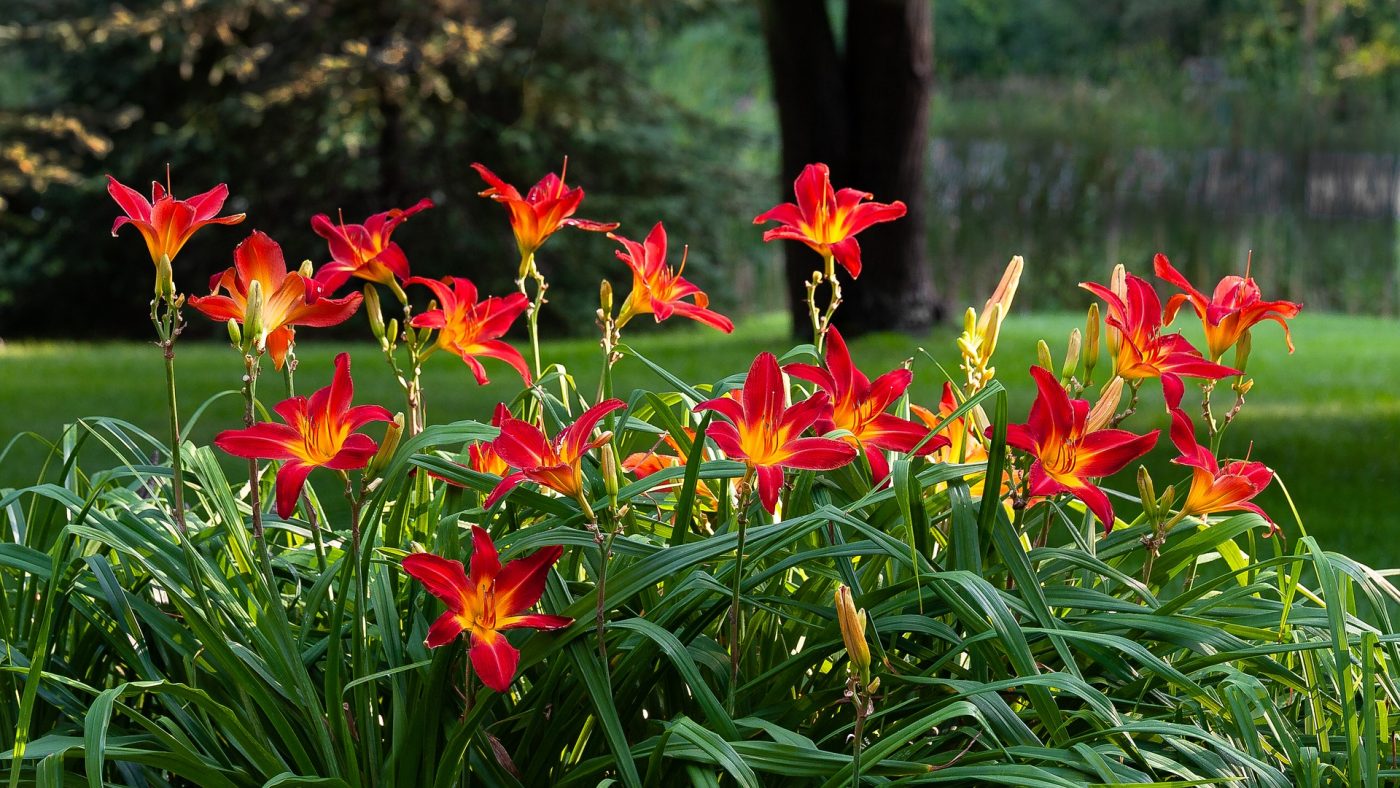
By incorporating these top long-lived perennials into your garden, you can create a beautiful, low maintenance landscape that provides year-round interest and enjoyment. Remember to consider your specific growing conditions and preferences when selecting plants, and don't be afraid to experiment with different combinations of perennials, annuals, and other plants to create a truly unique and personalized garden space.
How to care for long-lived perennials
Now that we have explored some of the best long-lived perennials for your garden, it is essential to understand how to care for these low maintenance perennial plants properly. By following a few simple guidelines, you can ensure that your perennials thrive and provide years of enjoyment in your garden.
1. Soil preparation: Before planting your perennials, it's crucial to prepare the soil by loosening it and incorporating organic matter, such as compost or well-rotted manure. This will improve soil structure, drainage, and fertility, creating an optimal environment for your perennials to grow.
2. Planting: When planting your perennials, dig a hole that is slightly larger than the root ball and place the plant at the same depth it was growing in its container. Backfill the hole with soil, gently firming it around the plant to eliminate air pockets. Water the plant thoroughly to help it settle in.
3. Watering: While many long-lived perennials are drought-tolerant, it's essential to provide them with adequate water, especially during their first year of growth. Water your perennials deeply and infrequently, allowing the soil to dry out slightly between waterings. This will encourage the development of deep, healthy root systems.
4. Mulching: Apply a layer of organic mulch, such as shredded bark or compost, around the base of your perennials to help conserve moisture, suppress weeds, and regulate soil temperature. Be sure to keep the mulch a few inches away from the plant's stem to prevent rot and disease.
5. Fertilizing: Most long-lived perennials do not require heavy fertilization. However, an annual application of a slow-release, balanced fertilizer or a top dressing of compost can provide the necessary nutrients for healthy growth.
6. Pruning and deadheading: Regularly remove spent flowers and dead or damaged foliage to encourage new growth and maintain your perennials' appearance. Some perennials, such as daylilies and coneflowers, may benefit from periodic division to rejuvenate the plant and maintain its vigor.
7. Winter care: In colder climates, it's essential to provide some protection for your perennials during the winter months. Cut back the foliage of herbaceous perennials after the first hard frost, and apply a layer of mulch or straw to help insulate the plants' roots. In spring, remove the protective covering and watch your perennials come back to life.
By following these simple steps, you can ensure that your long-lived perennials remain healthy and vibrant, providing you with a beautiful and low maintenance garden for years to come. Remember, the key to successful perennial plant care is understanding the specific needs of each plant and adapting your care routine accordingly.
Designing your garden with long-lived perennials
Designing your garden with long-lived perennials can be a rewarding and enjoyable process. By incorporating these easy care perennials into your landscape, you can create a stunning and low maintenance garden that provides beauty and interest throughout the year. Here are some tips to help you design a perennial garden that showcases the best long-lived perennials:
1. Choose a focal point: When planning your perennial garden, it's essential to select a focal point that will draw the eye and anchor the design. This could be a large, architectural plant like a tree or shrub, a garden sculpture, or a water feature. Consider using a standout perennial, such as the 2021 Perennial Plant of the Year, Calamintha nepeta 'Blue Cloud', as a focal point to create visual interest.
2. Group plants by height and bloom time: To achieve a cohesive and harmonious design, group your perennials by height, with taller plants at the back of the border and shorter plants towards the front. Additionally, consider the bloom time of each plant to ensure a continuous display of color throughout the growing season. For example, combine early-blooming perennials like hellebores with summer-flowering plants like coneflowers and fall-blooming species like asters.
3. Use repetition and contrast: Repeating the same plants or colors throughout your garden creates a sense of unity and balance. At the same time, contrasting textures and forms can add visual interest and depth to your design. For instance, pair the bold, architectural leaves of a 2022 Hosta of the Year with the delicate, feathery foliage of ferns or ornamental grasses.
4. Consider year-round interest: When selecting perennials for your garden, consider plants that provide interest beyond their bloom time. Look for species with attractive foliage, seed heads, or bark that can add color and texture to your garden throughout the year. Evergreen perennials like hellebores and hostas are excellent choices for providing year-round interest.
5. Leave room for growth: When planting your perennials, be sure to space them according to their mature size to allow for proper air circulation and room to grow. Overcrowding can lead to poor plant health and increased susceptibility to pests and diseases.
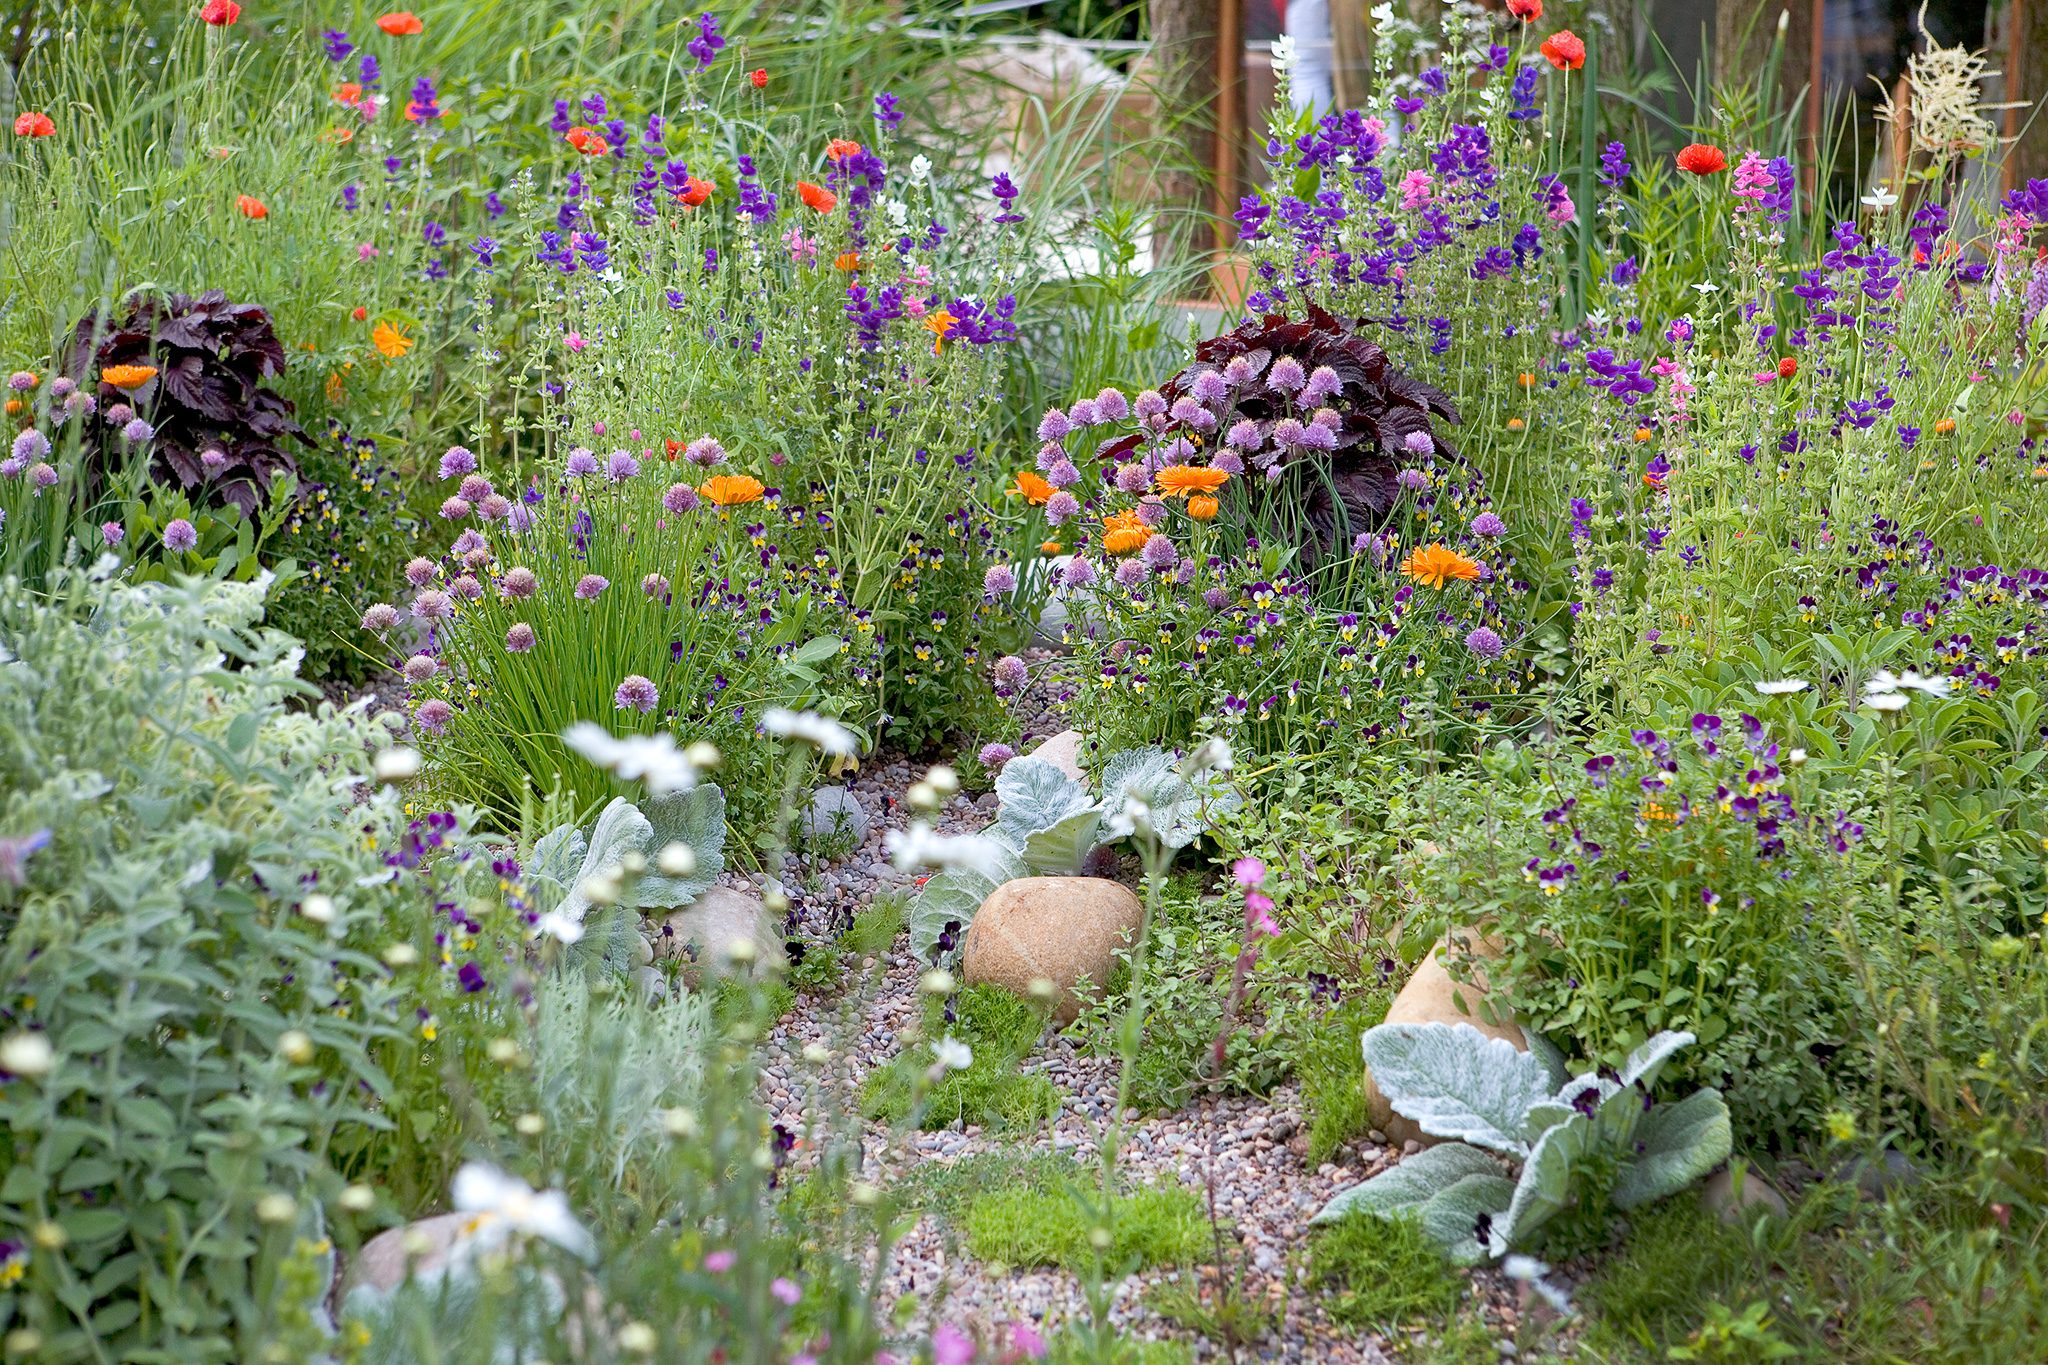
6. Experiment with color schemes: Whether you prefer a monochromatic palette or a riot of color, experimenting with different color schemes can help you create a visually appealing garden. Consider using complementary colors, such as purple and yellow, or analogous colors, like shades of pink and red, to create a harmonious and eye-catching display.
By incorporating these design principles and selecting the best long-lived perennials for your garden, you can create a stunning and low maintenance landscape that will provide enjoyment for years to come. Remember, the key to a successful perennial garden is understanding the specific needs of each plant and adapting your design to suit their requirements.
Combining long-lived perennials with annuals and other plants
Combining long-lived perennials with annuals and other plants
Integrating long-lived perennials with annuals and other plants can create a dynamic and visually appealing garden that offers a variety of colors, textures, and forms throughout the year. By incorporating a mix of easy care perennials, low maintenance perennial plants, and annual flowers, you can design a garden that is both beautiful and practical. Here are some tips for successfully combining long-lived perennials with annuals and other plants:
1. Select complementary plants: When choosing annuals and other plants to pair with your long-lived perennials, consider their growth habits, bloom times, and foliage characteristics. Look for plants that complement each other in terms of color, texture, and form. For example, pair the bold, spiky blooms of a perennial like the 2020 Perennial Plant of the Year, Aralia cordata 'Sun King', with the soft, billowy flowers of an annual like cosmos.
2. Use annuals to fill gaps: Annuals can be a valuable addition to your perennial garden, as they can quickly fill in gaps between slower-growing perennials and provide a burst of color throughout the season. Choose annuals with long bloom times, such as marigolds or petunias, to ensure a continuous display of color.
3. Layer your plants: When planting your garden, consider the mature height of each plant and arrange them in layers, with taller plants at the back of the border and shorter plants towards the front. This will create a sense of depth and visual interest in your garden, while also allowing each plant to receive adequate sunlight.
4. Incorporate bulbs and other plants: In addition to annuals, consider incorporating bulbs, such as daffodils or tulips, and other plants like ornamental grasses or shrubs, into your perennial garden. These plants can add variety and interest to your landscape, while also providing support and structure for your perennials.
5. Plan for succession planting: To ensure a continuous display of color and interest throughout the year, plan your garden with succession planting in mind. This involves selecting plants with staggered bloom times, so that as one plant finishes flowering, another begins. For example, combine early-blooming bulbs like crocuses with mid-season perennials like peonies and late-season annuals like zinnias.
By thoughtfully combining long-lived perennials with annuals and other plants, you can create a diverse and vibrant garden that offers visual interest and enjoyment throughout the year. Remember to consider the specific needs and characteristics of each plant when designing your garden, and don't be afraid to experiment with different combinations to achieve the perfect balance of color, texture, and form.
Creating a low-maintenance garden with long-lived perennials
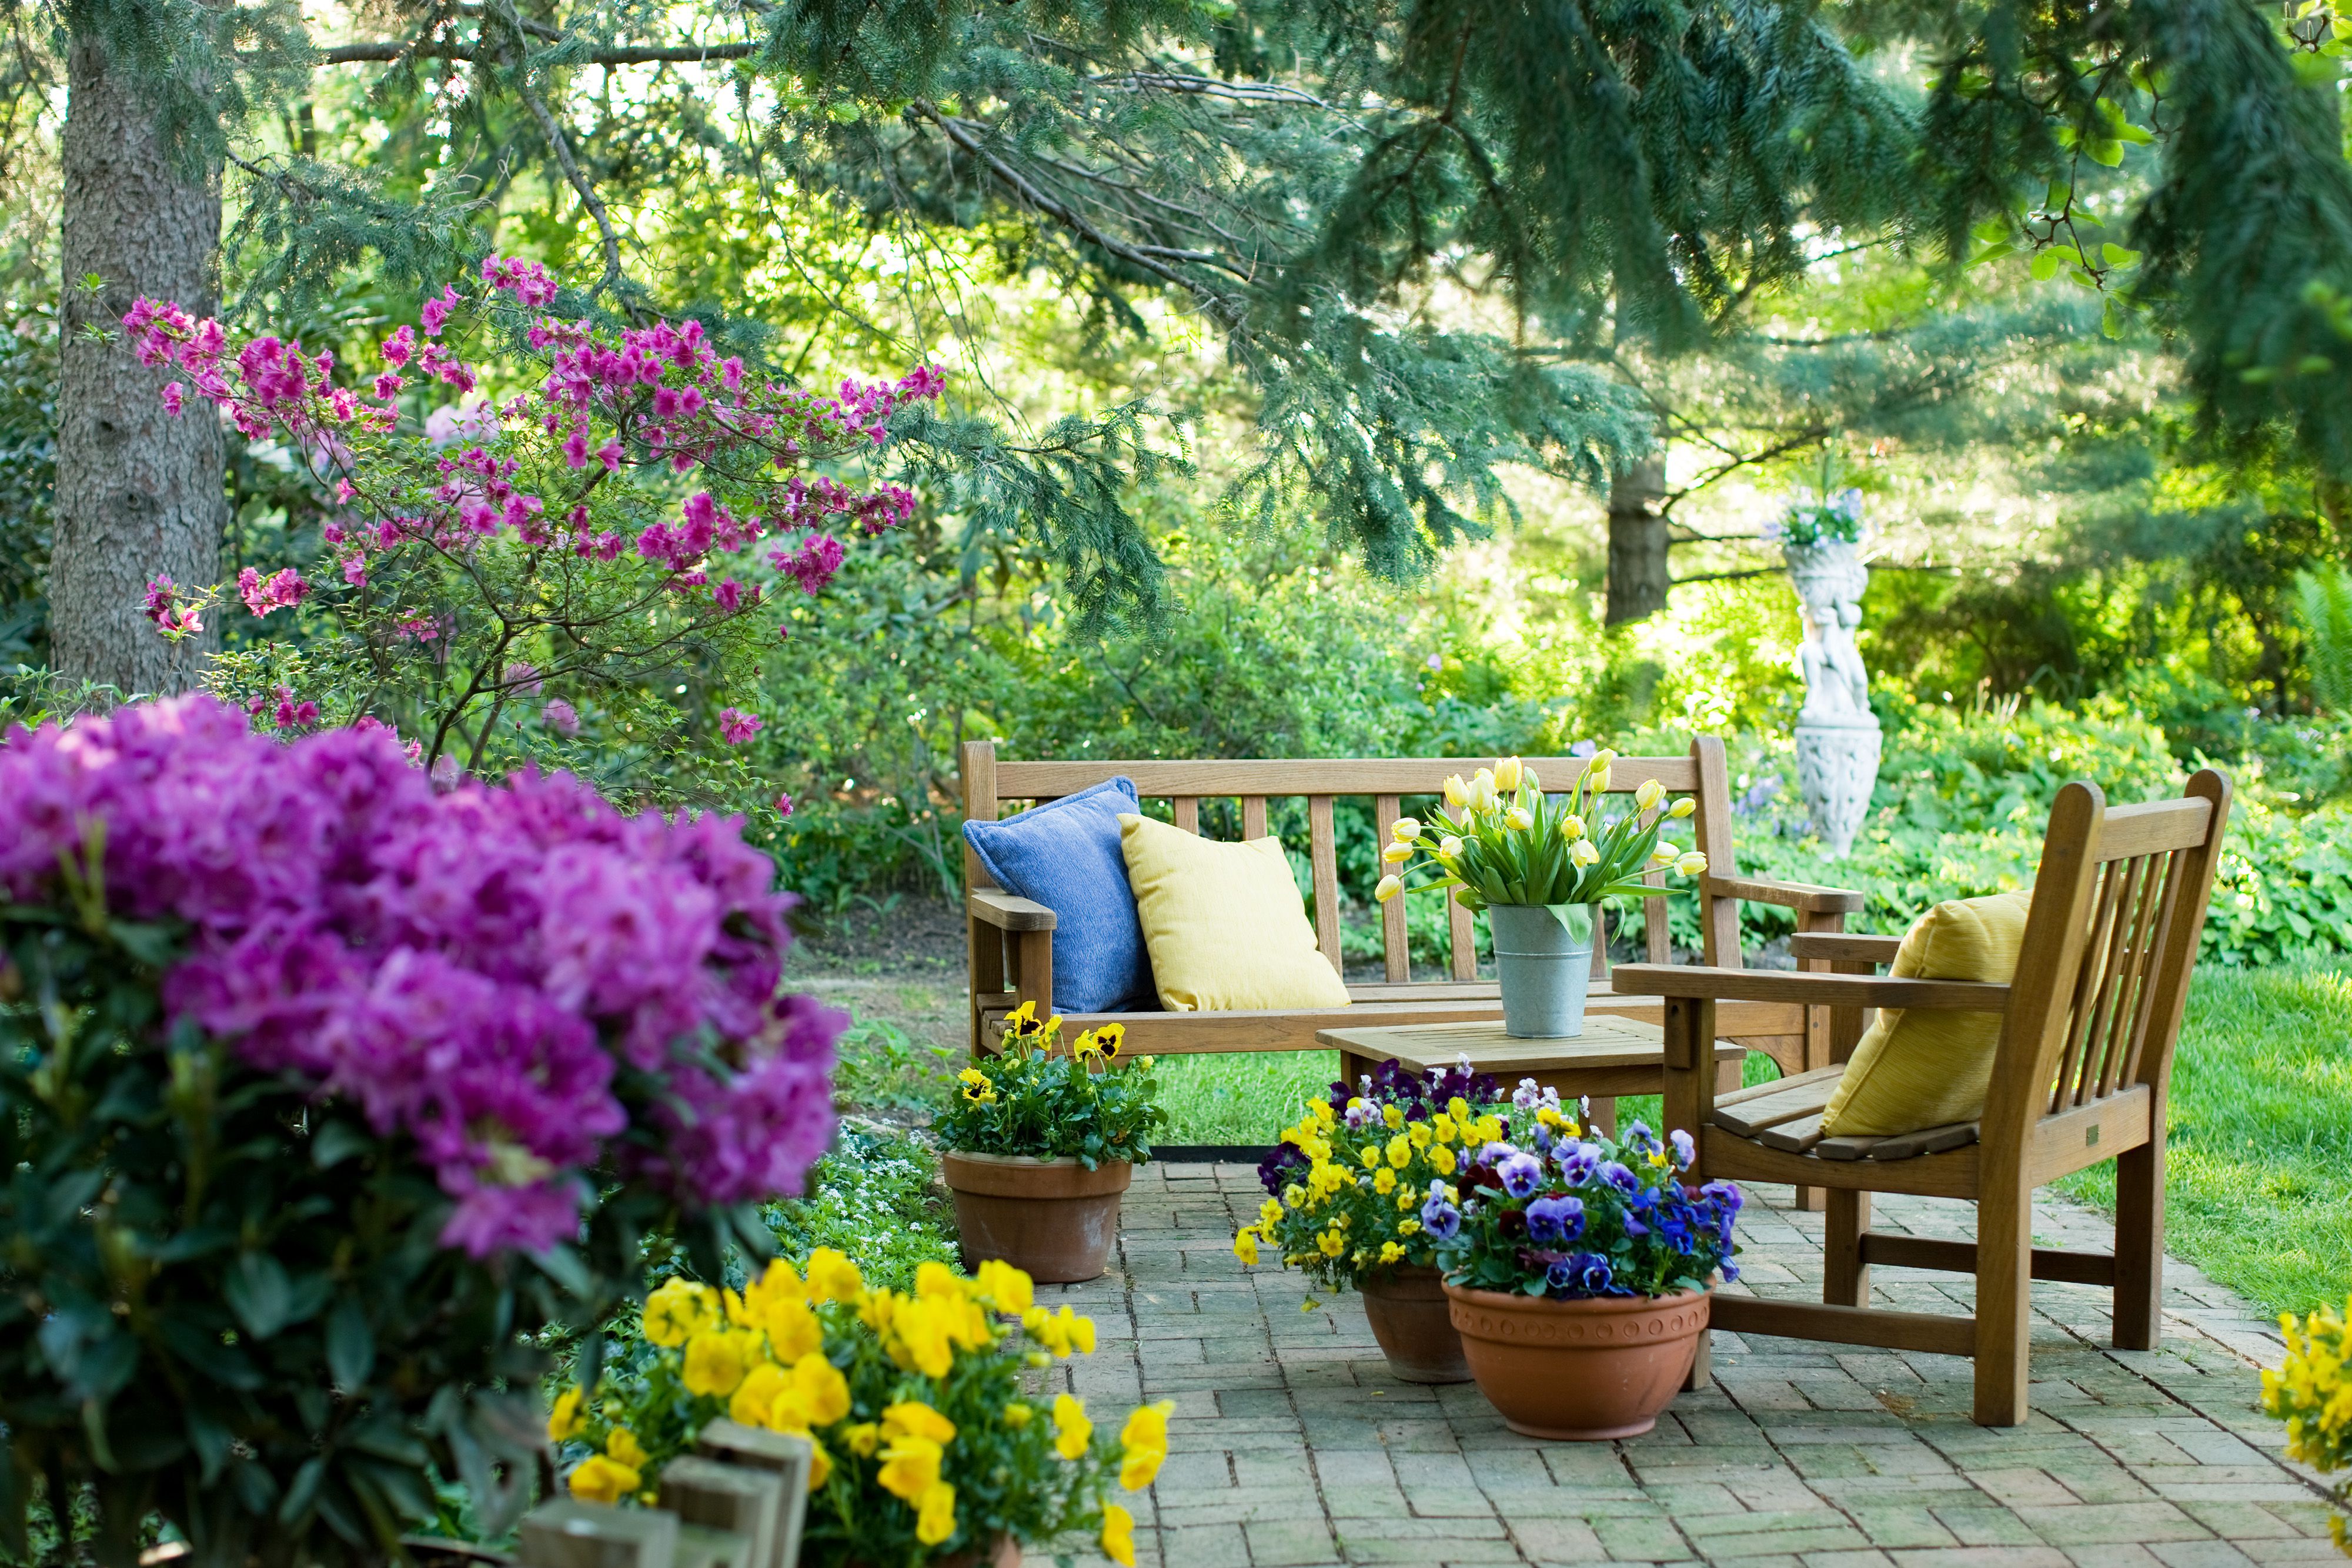
Creating a low-maintenance garden with long-lived perennials is an excellent way to enjoy a beautiful outdoor space without the need for constant upkeep. By selecting easy care perennials and implementing smart garden design strategies, you can create a stunning perennial garden that requires minimal maintenance. Here are some tips for designing a low-maintenance garden with long-lasting perennials:
1. Choose low maintenance perennial plants: When selecting perennials for your garden, look for plants that are known for their easy care and minimal maintenance requirements. Some top perennial plants to consider include the 2018 Hosta of the Year, 'World Cup', the 2021 Perennial Plant of the Year, Calamintha nepeta 'Blue Cloud', and the 2022 Hosta of the Year, 'Lakeside Paisley Print'. These plants are not only beautiful but also require little attention once established.
2. Implement proper perennial plant care: To ensure the health and longevity of your perennials, it's essential to provide them with the appropriate care. This includes proper watering, fertilizing, and pruning practices. By taking care of your perennials, you'll minimize the need for ongoing maintenance and help them thrive for years to come.
3. Use mulch to suppress weeds: Applying a layer of mulch around your perennials can help suppress weed growth and reduce the need for weeding. Mulch also helps retain soil moisture, reducing the frequency of watering required. Choose an organic mulch, such as shredded bark or compost, to improve soil fertility as it breaks down over time.
4. Group plants with similar needs: When designing your perennial garden, group plants with similar water, light, and soil requirements together. This will make it easier to care for your plants and reduce the need for individual attention. For example, plant drought-tolerant perennials like sedum and lavender together, while placing moisture-loving plants like hostas and astilbes in a separate area.
5. Opt for self-seeding perennials: Some perennials, such as columbine and foxglove, will self-seed and spread throughout your garden, creating a natural, low-maintenance look. By allowing these plants to reseed themselves, you'll reduce the need for additional planting and maintenance.
6. Limit the use of annuals: While annuals can add a pop of color to your garden, they require more maintenance than perennials, as they need to be replanted each year. By focusing on long-lived perennials and limiting the use of annuals, you'll reduce the amount of time and effort required to maintain your garden.
By incorporating these strategies into your garden design, you can create a stunning, low-maintenance perennial garden that will provide beauty and enjoyment for years to come. Remember to select easy care perennials, implement proper plant care, and use smart design techniques to minimize the need for ongoing maintenance.


No comments yet. Be the first to share your thoughts!